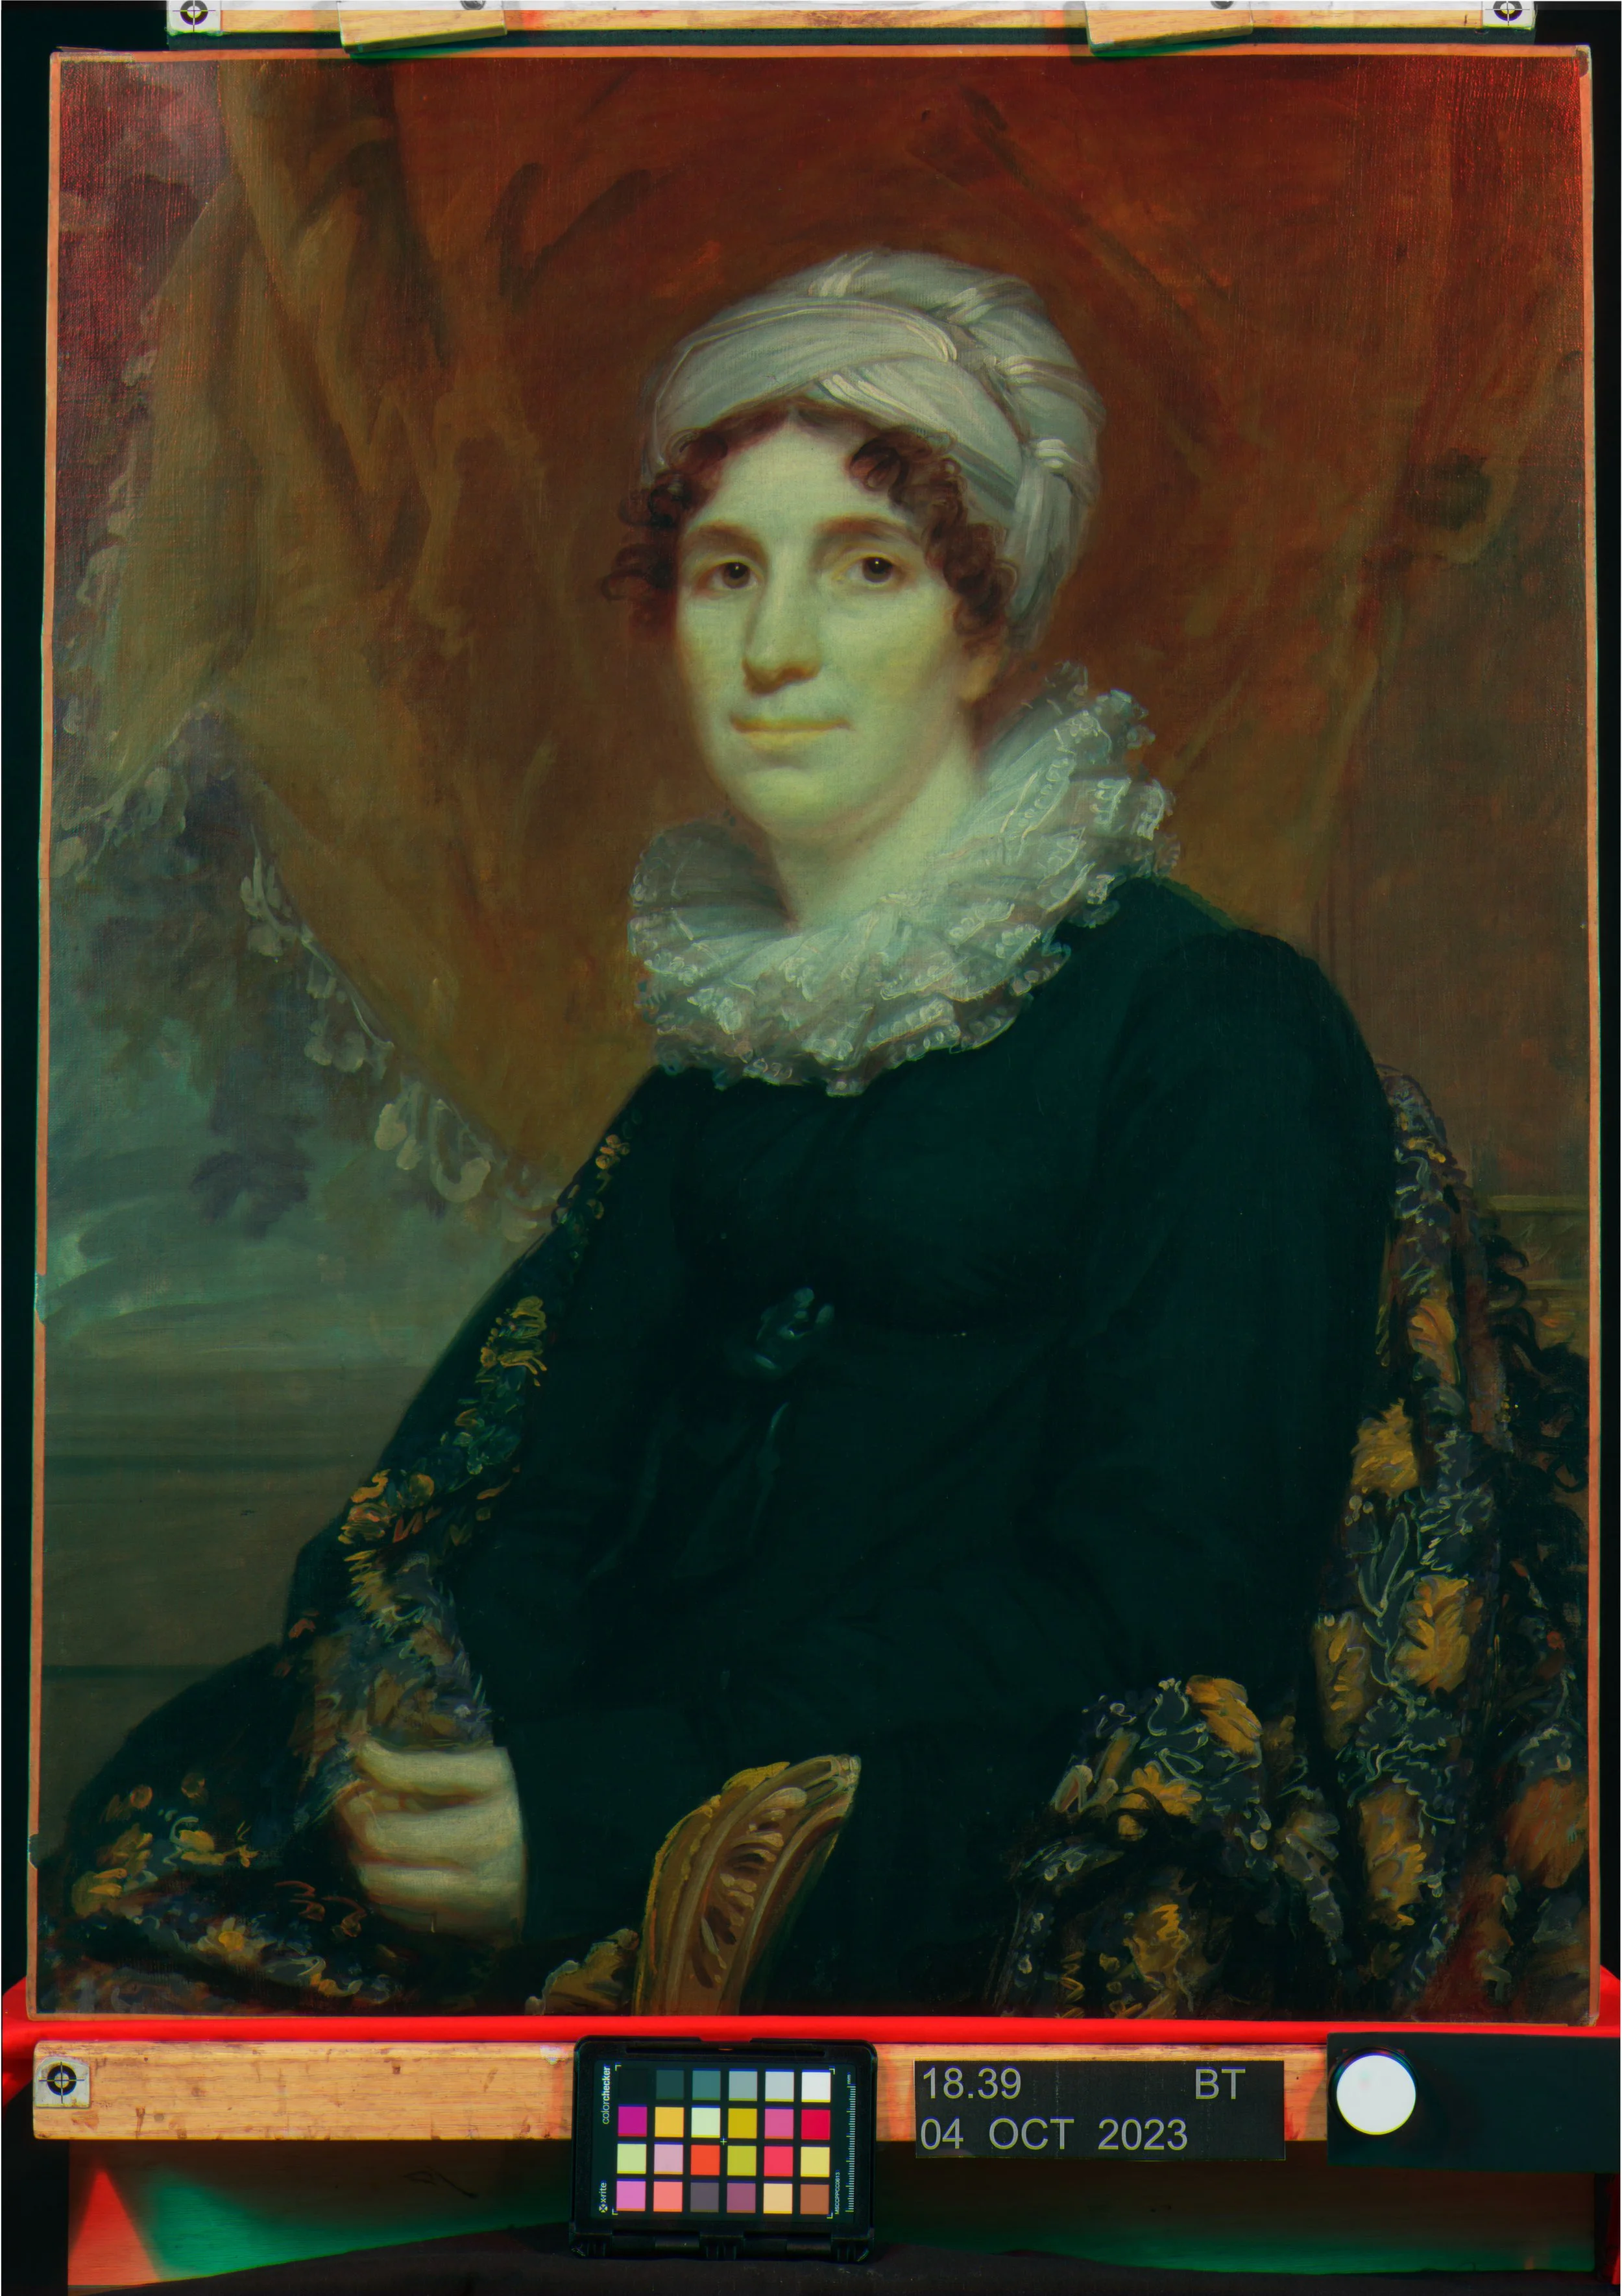
Mrs. James K. Bogert Jr., Before Treatment
Mrs. James K. Bogert Jr.
Artist: Samuel Lovett Waldo and William Jewett
Title: Mrs. James K. Bogert Jr.
Medium: Oil on Canvas
Date: 1819
Dimensions: 33” x 25 15/16”
This portrait depicts Mrs. James K. Bogert Jr., a Philadelphian woman, seated at a 3/4 angle from hips up. She is wearing a long-sleeve empire-waist black dress, with an elaborate lace ruff at her neck. Surrounding her is a black shawl with intricately embroidered flower designs. Mrs. Bogert has brown curly hair that can be seen peeking out from her white headpiece, possibly a silk turban. The backdrop is quite abbreviated, with a window or opening to the outside on her right, partially obscured by a gold-trimmed red curtain. The artists, Samuel Lovett Waldo and William Jewett, were artist and apprentice turned painting business partners who were based in New York.
Condition Summary
This painting came into the lab in preparation for a full reinstallation of the American Galleries. The American curators were interested in her shawl and head-dress as a way to explore self-identity through self-fashioning.
The painting was structurally stable, but had an extremely yellowed varnish that made details and nuance of the composition difficult to read and flattened out the depth and color space of the painting.
Treatment Proposal Summary
Due to the incredibly darkened and yellowed varnish, many nuances and original aspects of the painting were impossible to appreciate. This required removal of a top layer of grime with aqueous cleaning, followed by solvent testing for varnish removal. There was some paint sensitivity found on the sitter’s dark garments that required additional problem solving. Throughout the surface was at two - maybe three - layers of varnish with grime in-between. The amount of varnish on the surface and sensitivity of the paint required a slow unpacking of the varnish layers. The painting was slightly slack on the stretcher, so keying out would be beneficial. Once the old layers of varnish were removed, a fresh layer of varnish was needed to saturate the surface. A small loss on the sitter’s headpiece required minor filling and inpainting. MBI was taken before and during varnish removal to better understand the surface and materials.
A full conservation report can be downloaded for further information. Below are select information and images of the treatment process.
Click on each image for an enlarged version.
Before Treatment, Normal Light, Recto
Before Treatment, Normal Light, Verso
Before Treatment, UV Fluorescence, Recto
During Treatment, Partial Varnish Removal, Normal Light, Recto
After Treatment, Varnish and Inpainting applied, UV Fluorescence, Recto
After Treatment, Normal Light, Recto
During Treatment, Partial Varnish Removal, Specular Light, Recto
During Treatment, Varnish Removed, UV Fluorescence, Recto
During Treatment, Partial Varnish Removal, UV Fluorescence, Recto
During Treatment, After Varnish application and partial inpainting, Normal Light, Recto
After Treatment, Normal Light, Verso
Spliced image - before (L) and after (R) treatment
Varnish Removal
There were multiple layers of varnish on the painting, the thickness and sensitivity of the underlying paint required the varnish to be removed in multiple sessions with different solvents. Note that different solvent passes were applied after allowing the surface to dry overnight. The sensitive area of the painting was her black garments (dress and shawl). I did not encounter sensitivity in the other areas. The non- sensitive areas were cleaned with an initial application of 1:1 ethanol:iso-octane which removed the bulk of the varnish. This was followed by a 2% ethanol, 49% isopropanol, and 49% iso-octane solution which left behind just a small amount of varnish. In the sensitive areas there was much additional testing, including the use of Evalon. In the end I was able to use 10% ethanol in iso-octane solution to get the bulk of the varnish, followed by 1:1 isopropanol:iso-octane. The final thin layer of varnish was further reduced with a final pass of neat acetone, which evaporated quickly so I was able to remove varnish while minimizing interaction with the paint.
Partially cleaned head-piece from initial 1:1 ethanol:iso-octane pass
Removing varnish from Mrs. Bogert
PC: Camille Ferrer
Initial testing with Evalon under magnification
Swabs from varnish removal
Key-Out
After varnish removal, I was able to key the painting out using the existing keys. This addressed the planar distortions/draws. I secured the keys to make sure they cannot fall away or between stretcher and canvas later on.
Key secured with waxed yarn and staple
Varnishing & Finishing Touches
After varnish removal and keying out, I was able to varnish the painting. 10% Regalrez in Shellsol 71 was brush applied to resaturate the surface. After letting the Shellsol evaporate for a few days, I did some minor filling (Flügger) and inpainting (Gamblin conservation colors and Isopropanol).
First brushstroke of varnish application, PC: Emily Landry
Buffing in semi-dry varnish with boar bristle brush, PC: Emily Landry
Loss (top left), Fill (top right), Gouache Toning (bottom left), Final Gamblin Inpainting (bottom right)
Mrs. James K. Bogert, After Treatment
Multi-Band Imaging
As this was one of my bigger projects, I did MBI twice to learn as much as I could about the painting and track the surface as thoroughly as possible. Below are two carousels with images from before treatment and during treatment MBI. PDFs of these grouped images are available as well.
Before Treatment MBI
During Treatment MBI


